How to Draw an Equilateral Triangle in Photoshop CS5 (updated)
Sun, Sep 4, 2011
An equilateral triangle, in case you've forgotten, is a triangle composed of sides that are all of the same length. For some reason I started thinking about those kinds of triangles the other day and wanted to create one, for use in a pattern or something very creative. I could have opted to just google for an image of one, but I wanted to draw one by hand. I started by creating a shape using the pen tool (p), but I found out quickly that it's not intuitively easy (at least if you've forgotten all your grade school math, like I have). I managed to draw one by iteratively measuring each side and dragging the corners, but that seemed hacky and thought there must be a more grade-school math way of doing it. Of course the Wikipedia entry had the formula for calculating the height of it, and that's just what I needed:  (Where the length of each side is "a". ie. any length you want.)
Update: The easiest and best way to draw an equilateral triangle
In the method below, you can see that I went into a lot of trouble making one of these triangles by hand. However, I learn yet again a) how stupid I can be, b) how valuable the comments on my blog can be, and c) how useless twitter is for asking questions when you don't have +10k followers. Like somebody mentioned in the comments, I could have used the polygon tool in Photoshop to create one of these:  By setting sides to 3, you have essentially made a equilateral triangle. For some reason, I have never used the polygon tool. I always saw it as a hexagon and never really tried clicking on it. This is also another example of how you're always learning new stuff in Photoshop. The commentator posted anonymously, so I have no idea who it was, but I'd like to take the chance to thank that mysterious person. However, if you still wish to learn how to do it by hand, you can follow this guide:
Drawing the equilateral triangle - the hard way
Using the information from the Wikipedia entry, this is how I drew the triangle in Photoshop: I placed a guide for the baseline of the triangle, one for the center of the triangle and two for the desired length I wanted the sides to have. 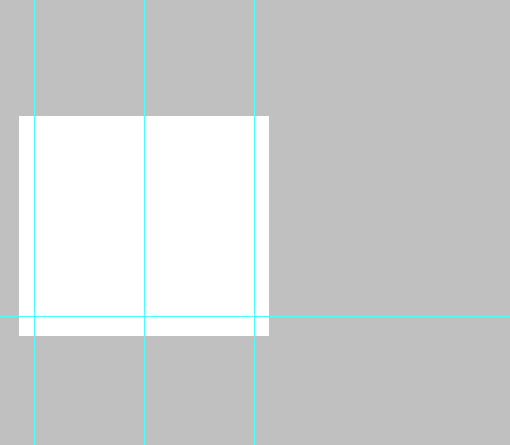 The length of each side of the triangle is supposed to be 220 pixels long, so we can apply the formula in the Wikipedia article like so:
h = (square root of 3 * 220) / 2

   = 190.5 (or 191, since we're using pixels)
If we want to do this often, and mathematical perfectness is not needed, we could actually also create a constant from the square root divided by 2, which is: 0.866
h = 220 * 0.866

  = 190.5 (or 191)
So if we make a selection using the marquee tool (m) which is of that height and drag it so it aligns with the bottom guide, we can place the guide we'll use for the height of the triangle: 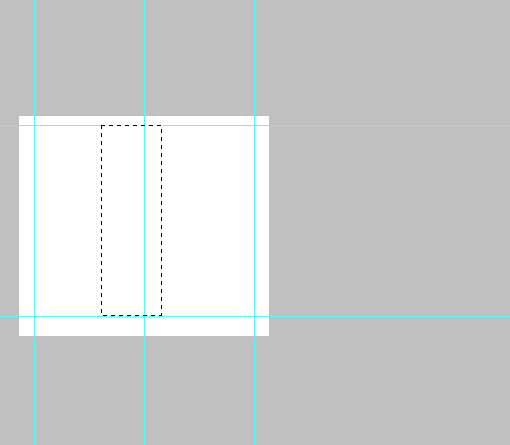 Now we just need to select the pen tool (p) and click each corner of the guides:
 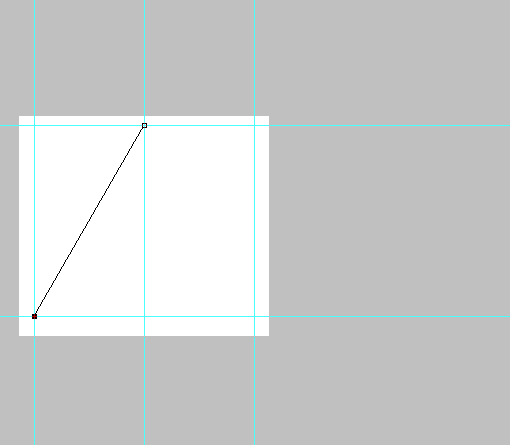 Then it should look something like this:
 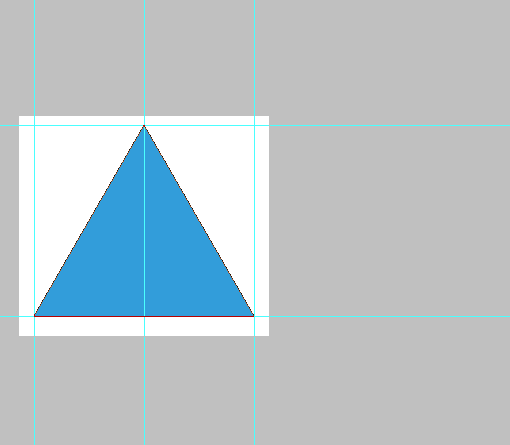 And now we can try rotating it and we see that each side has the same length (just to make sure we did everything right) - press escape to cancel:
 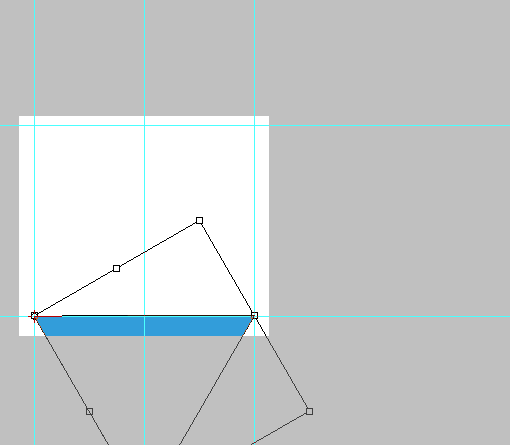 Now we're actually done. We can either use the triangle like this, we can define a custom shape out of it so we could use it as any other shape in Photoshop -- or we could even create an interesting pattern using the triangle...
Creating a pattern from the equilateral triangle
(Note: I'm using Photoshop CS5, but this should work in most modern versions of Photoshop (CS2, 3, 4 etc) Now you can be really clever and use this awesome creation as a base for a pattern for use in any Photoshop document by following these steps. Make the triangle black and make sure that your background is white. Rasterize the layer by right clicking on the layer (in the layers panel) and choosing "rasterize layer": 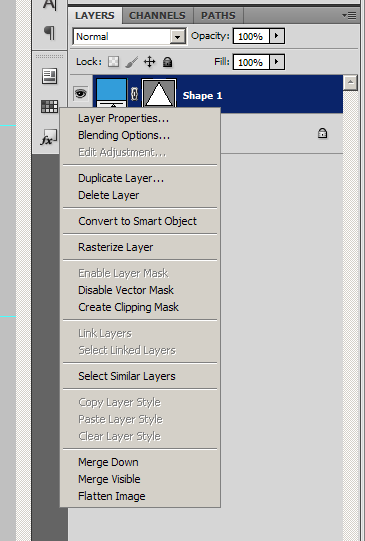 Make sure that your document is tall enough for a second triangle directly below this one (using Image -> Canvas size)
 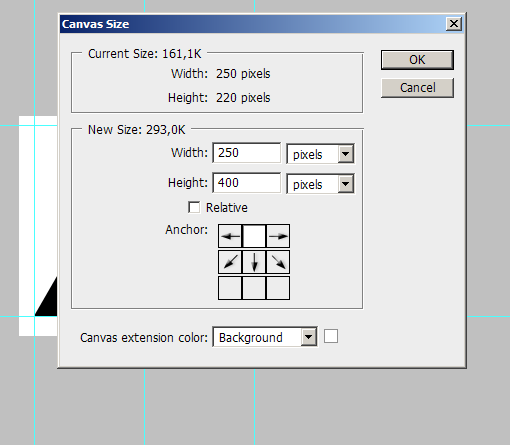 Duplicate the triangle, by picking the arrow tool (I have no idea what it's called -- maybe just the drag-stuff-around tool) and holding down the ALT key and dragging the triangle so it's top corner snaps to the guide on the baseline of the upper triangle. Then add a new guide at the baseline of the new triangle. And create a selection using the rectangle marquee tool around the second one following the guides.
 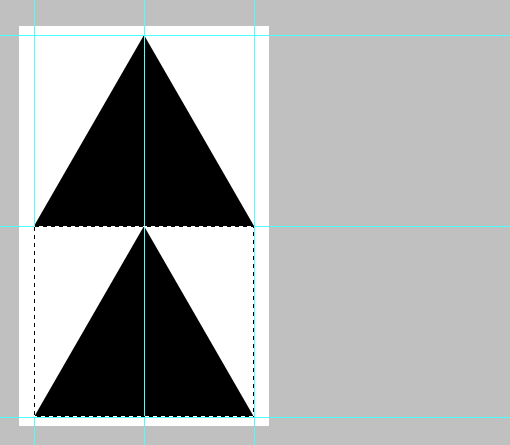 Crop the document around the guides, by using the crop tool (c) and pressing enter when it seems right:
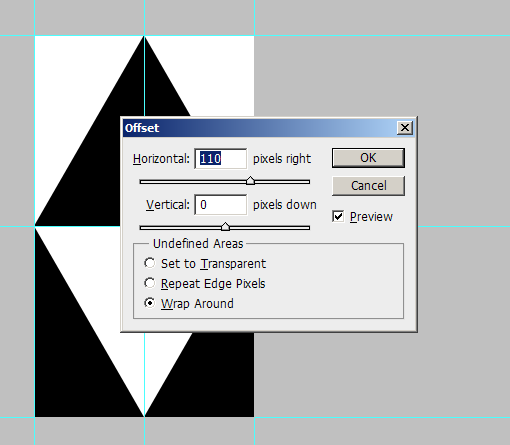
 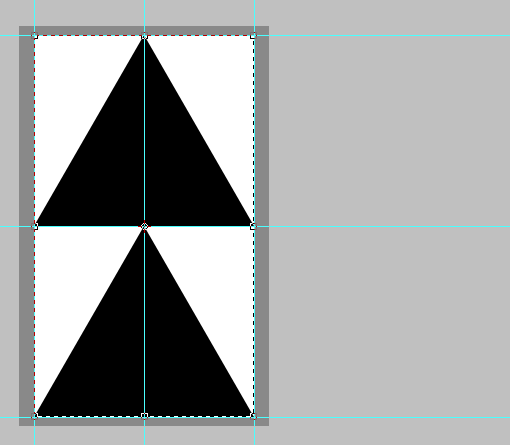 Make sure the lower layer is selected and use the offset tool (Filter -> Other -> Offset) to add a horizontal offset of 110 (half of the width of the triangle) and make sure vertical is 0 and that "wrap around" is selected below:
  Merge all layers by choosing Layer -> Flatten Image from the file menu. The only thing left is to define the pattern. Go to Edit -> Define Pattern and give it an epic name, like "equilateral triangle done right" ;)
 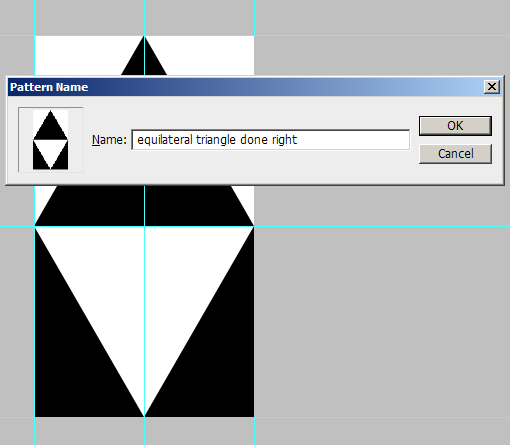 You're done. Now you can create masterpieces such as this one: